On this page
Key takeaways
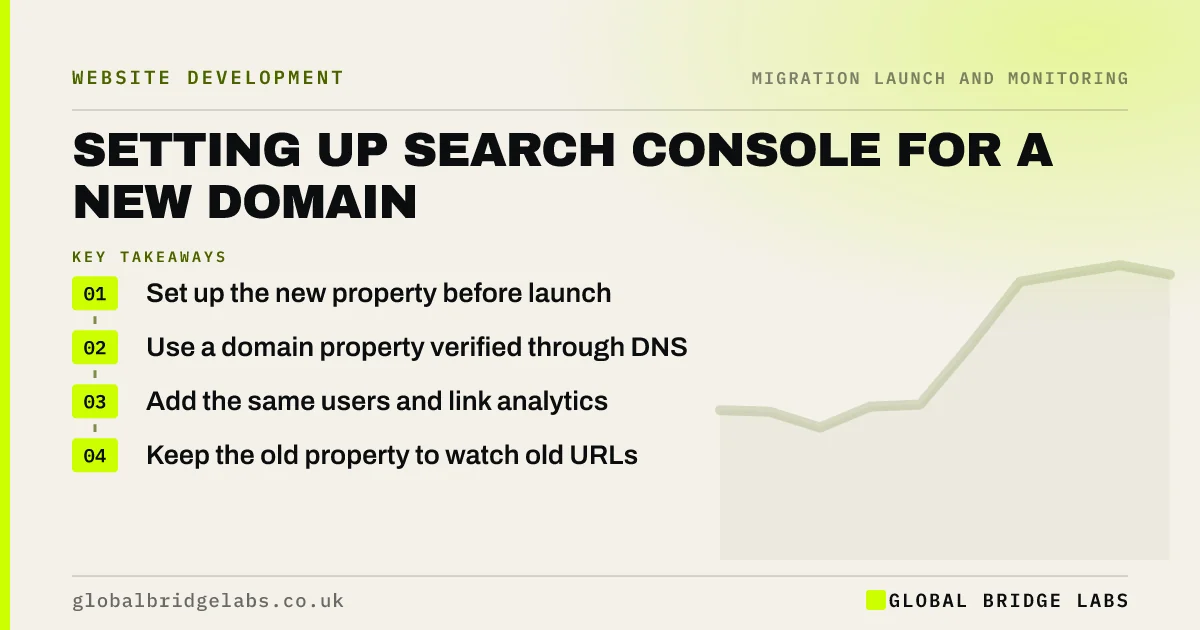
Set up Search Console for a new domain before launch, not after. Add a domain property, verified through DNS, which covers every protocol and subdomain. Add the same users as the old property, link analytics, and be ready to submit the sitemap and Change of Address on launch day. Keep the old property too; you need it to watch old URLs move.
- Set up the new property before launch.
- Use a domain property verified through DNS.
- Add the same users and link analytics.
- Keep the old property to watch old URLs.
Need help setting up Search Console? Message us on WhatsApp.
Chat on WhatsApp →Which property type should you use?
Search Console offers domain properties and URL-prefix properties. A domain property, verified by adding a DNS record at your domain registrar, covers all versions of the domain: HTTP, HTTPS, www, non-www and subdomains. That makes it ideal for a migration, because data is not split across versions. URL-prefix properties cover one exact version and can be added alongside for detail.
What are the setup steps?
Do this a week or more before launch, so there is time to fix verification problems.
- Add a domain property for the new domain.
- Add the DNS verification record at the registrar.
- Add users who need access, with suitable permissions.
- Link the property to analytics.
- Prepare the sitemap address for launch day.
- Check the old property is still verified.
Why keep the old property?
The old property is where you watch the migration happen: old URLs moving into page with redirect status, not found errors for missed redirects and clicks gradually transferring. It is also where the Change of Address request is submitted. Keep it verified and keep the old domain renewed. If verification relied on a file or tag on the old site, re-verify with DNS before the old site goes.
Want us to check your Search Console setup? Message us on WhatsApp.
Chat on WhatsApp →What does this look like in practice?
A pattern we see: the old property was verified with an HTML file on the old server. When the old hosting is cancelled after the move, verification fails and the team loses access to the data showing which old URLs still return errors. Switching to DNS verification before the move keeps access.
Search Console setup checklist
- Add a domain property for the new domain.
- Verify through DNS.
- Add users and link analytics.
- Re-verify the old property with DNS.
- Prepare sitemap and Change of Address.
Next step
Check how your current Search Console property is verified. If it relies on a file or tag, add DNS verification now so access survives the migration.
Message us on WhatsApp about Search Console, or book a 30-minute consultation.
Chat on WhatsApp →Sources and further reading
- Google Search Console · Google
- Change of Address tool · Search Console Help
- What is a sitemap · Google Search Central
Frequently asked questions
Should I use a domain property or a URL-prefix property?
For a migration, a domain property is usually best, because it covers every protocol and subdomain in one place. It needs DNS verification at your registrar. URL-prefix properties can be added as well to see one exact version, such as HTTPS with www, in more detail.
When should I set up Search Console for a new domain?
At least a week before launch. That gives time to add the DNS record, fix verification problems, add users and link analytics, so you can submit the sitemap and Change of Address request on launch day and watch data from the first hour.
Will my old Search Console data move to the new domain?
No. Data stays with the property it was collected for. The new property starts from launch. Keep the old property verified to watch old URLs and compare history, and save a baseline export before launch in case access is ever lost.
Written by

Global Bridge Labs (GBL) is a UK–Sri Lanka partner for social media, websites and BPO. Everything here comes from client delivery, not theory.